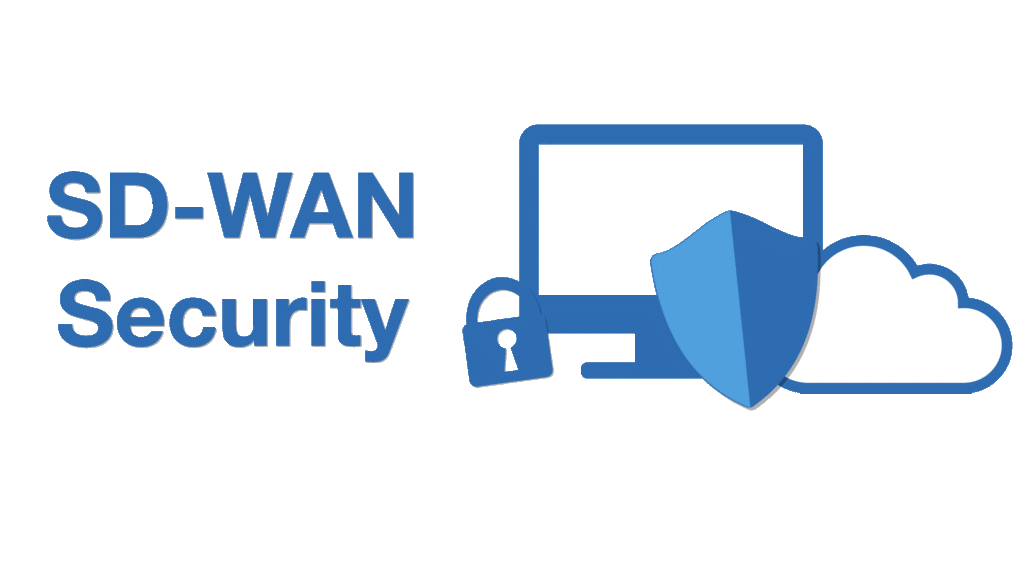
SD WAN security provide protection to enterprises so they can take extra measures to protect their systems from online threats. The security of your SD wireless network needs to be carefully orchestrated and properly protected against multiple types of threats.
If you are looking for the most complete security solution on the market today, we highly recommend the Cisco ASA Wireless Security appliance for Windows (SPI). It offers a comprehensive security suite that includes a fully integrated endpoint threat protection solution, comprehensive monitoring, remediation, and proactive alerting that are necessary to protect your SD wireless network from any and all attacks, and there are also other SD WAN systems to protect your systems, find out here now about this. You will also have the freedom to configure any device with the wireless management capabilities you desire. We use Cisco ASA WSA in our lab. You can download and install it using the following links.
Cisco ASA Wireless Security Appliance Windows.
Once you have installed the Cisco ASA WSA, you will need to login to the Cisco ASA Security Appliance Management console. Once the Cisco ASA WSA is configured, you will be presented with the following screen.
You can now configure an access rule using the standard WPA/WPA2 access authentication, or a secure-auth, WPA-Enterprise access authentication. Click the button next to “Add Access Rule.”
Once you have added an access rule, click the “Add Access Rule” button at the top of the screen and select the type of access rule.
Click on “Add Rule” at the top of the screen and select an access control group. You will want to create a new group called “Test”, and add it as an access rule for the folder “Data” on the server.
Important: If you are using the “SharePoint Products and Services – Add and manage Microsoft SharePoint Web Services” add-in on any other client computer, you must use the “Local Computer” user account in the “Test” group.
Step 1: Add an access rule to the SharePoint Products and Services Management Portal.
On the home tab, click Add Access Rule. Follow the instructions to add the access rule.
Step 2: Enable the SharePoint Products and Services Management Portal
In SharePoint Products and Services, click Manage. In the console tree, right-click Sites. In the menu bar, select Site Services Settings. In the Site Services Settings dialog box, click Enable Site Services. Click OK.
Step 3: Test your website in SharePoint Products and Services
Create a new website using the SharePoint Products and Services Designer. To open the SharePoint Products and Services Designer, click SharePoint Products and Services Designer and then click New Website. In the Site Design Editor, select Add a new Website from the Site Design dialog box. In the Site Design Editor, click Site Name. Enter a name for the site and then select Add. In the Site Properties dialog box, click Site Settings. In the Site Properties dialog box, click the Site Name tab. Click the Web Type check box. On the Site Design tab, choose the Web Layout tab. Under Default Web Page, click the Edit button. In the Edit Web Layout dialog box, select the Web Layout Editor link. In the Edit Web Layout dialog box, click the Web Layout Editor link. In the Web Layout Editor dialog box, select the Text Editor link. In the Web Layout Editor dialog box, click the Text tab.